Create and assign a task
Add a task in one line, then give it a status, a priority, dates, a project and its owners.
Updated November 4, 2026
On this page
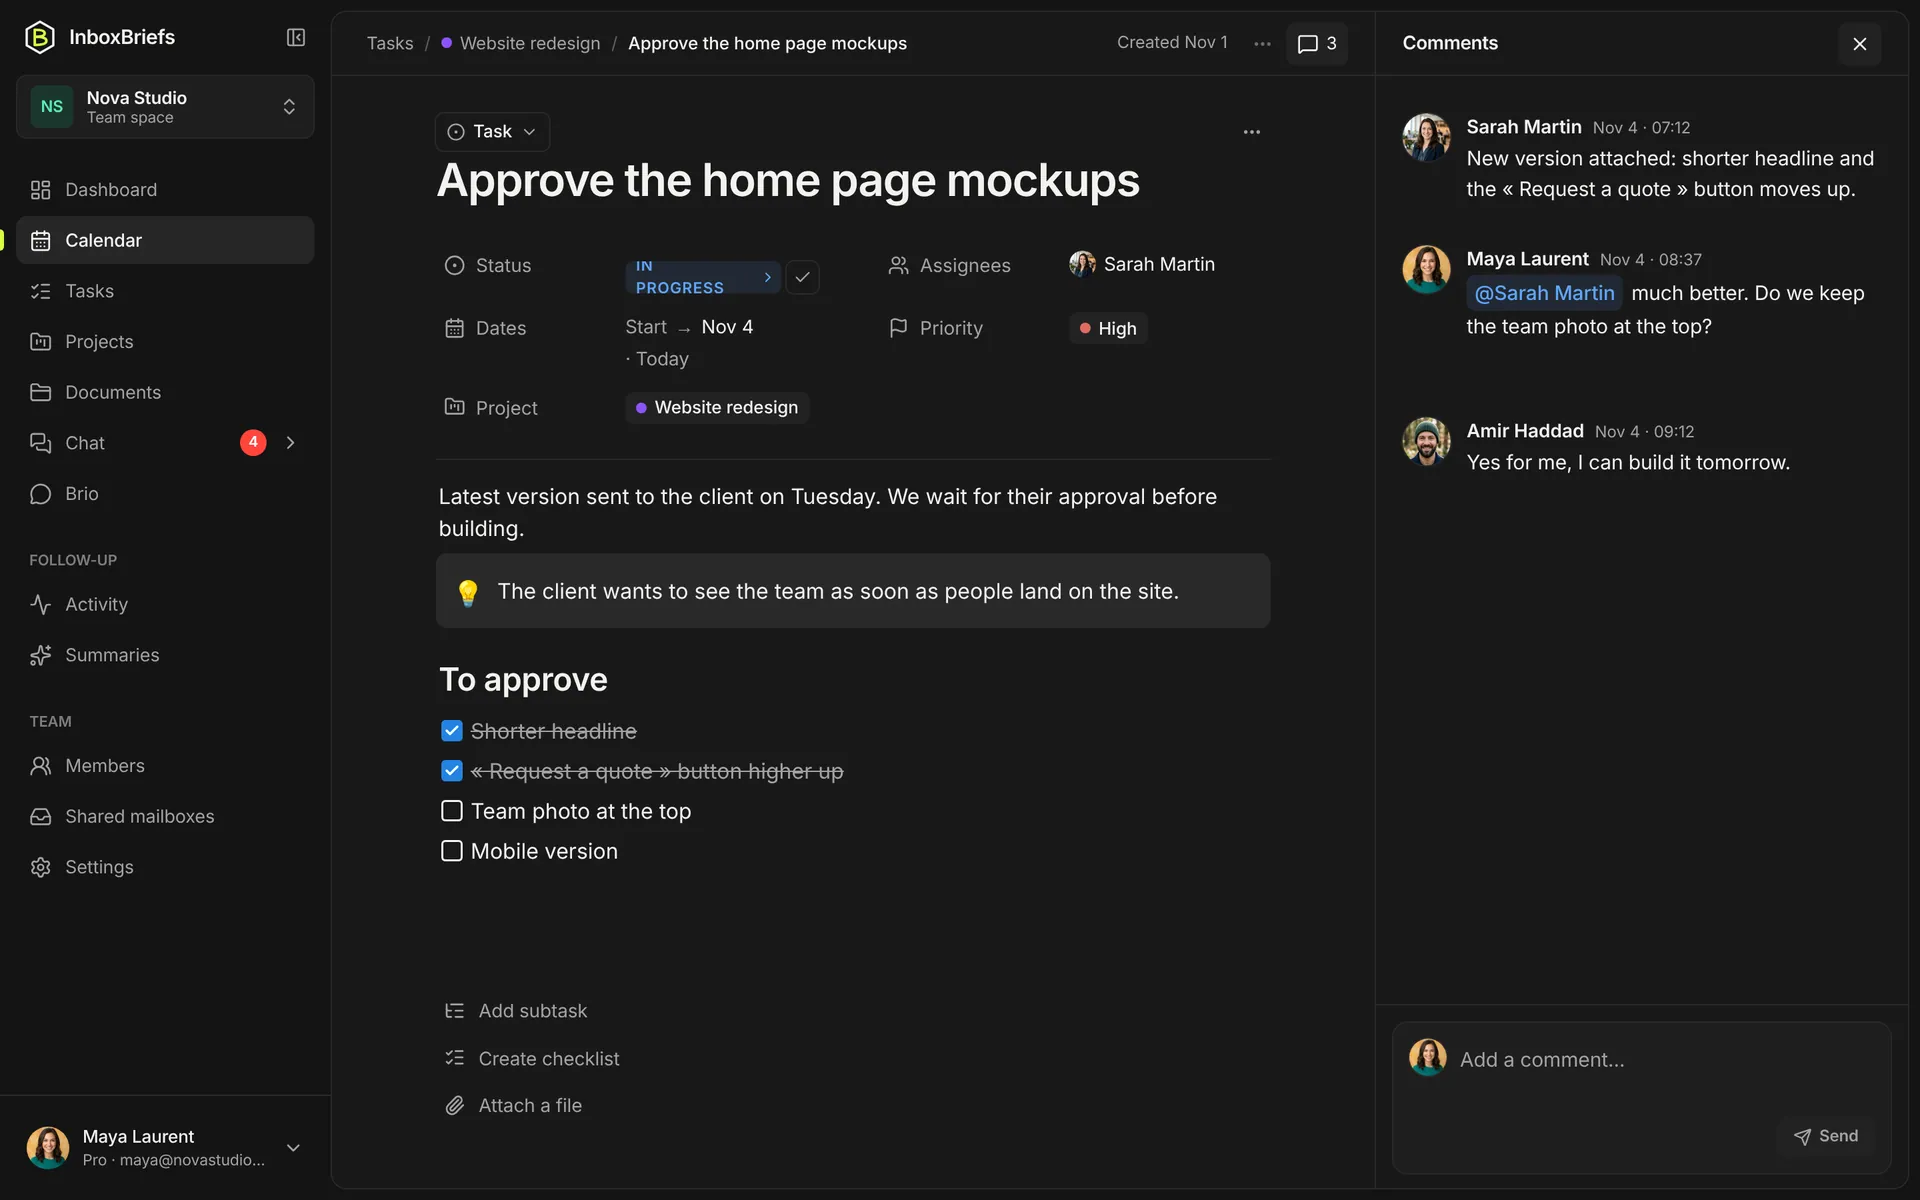
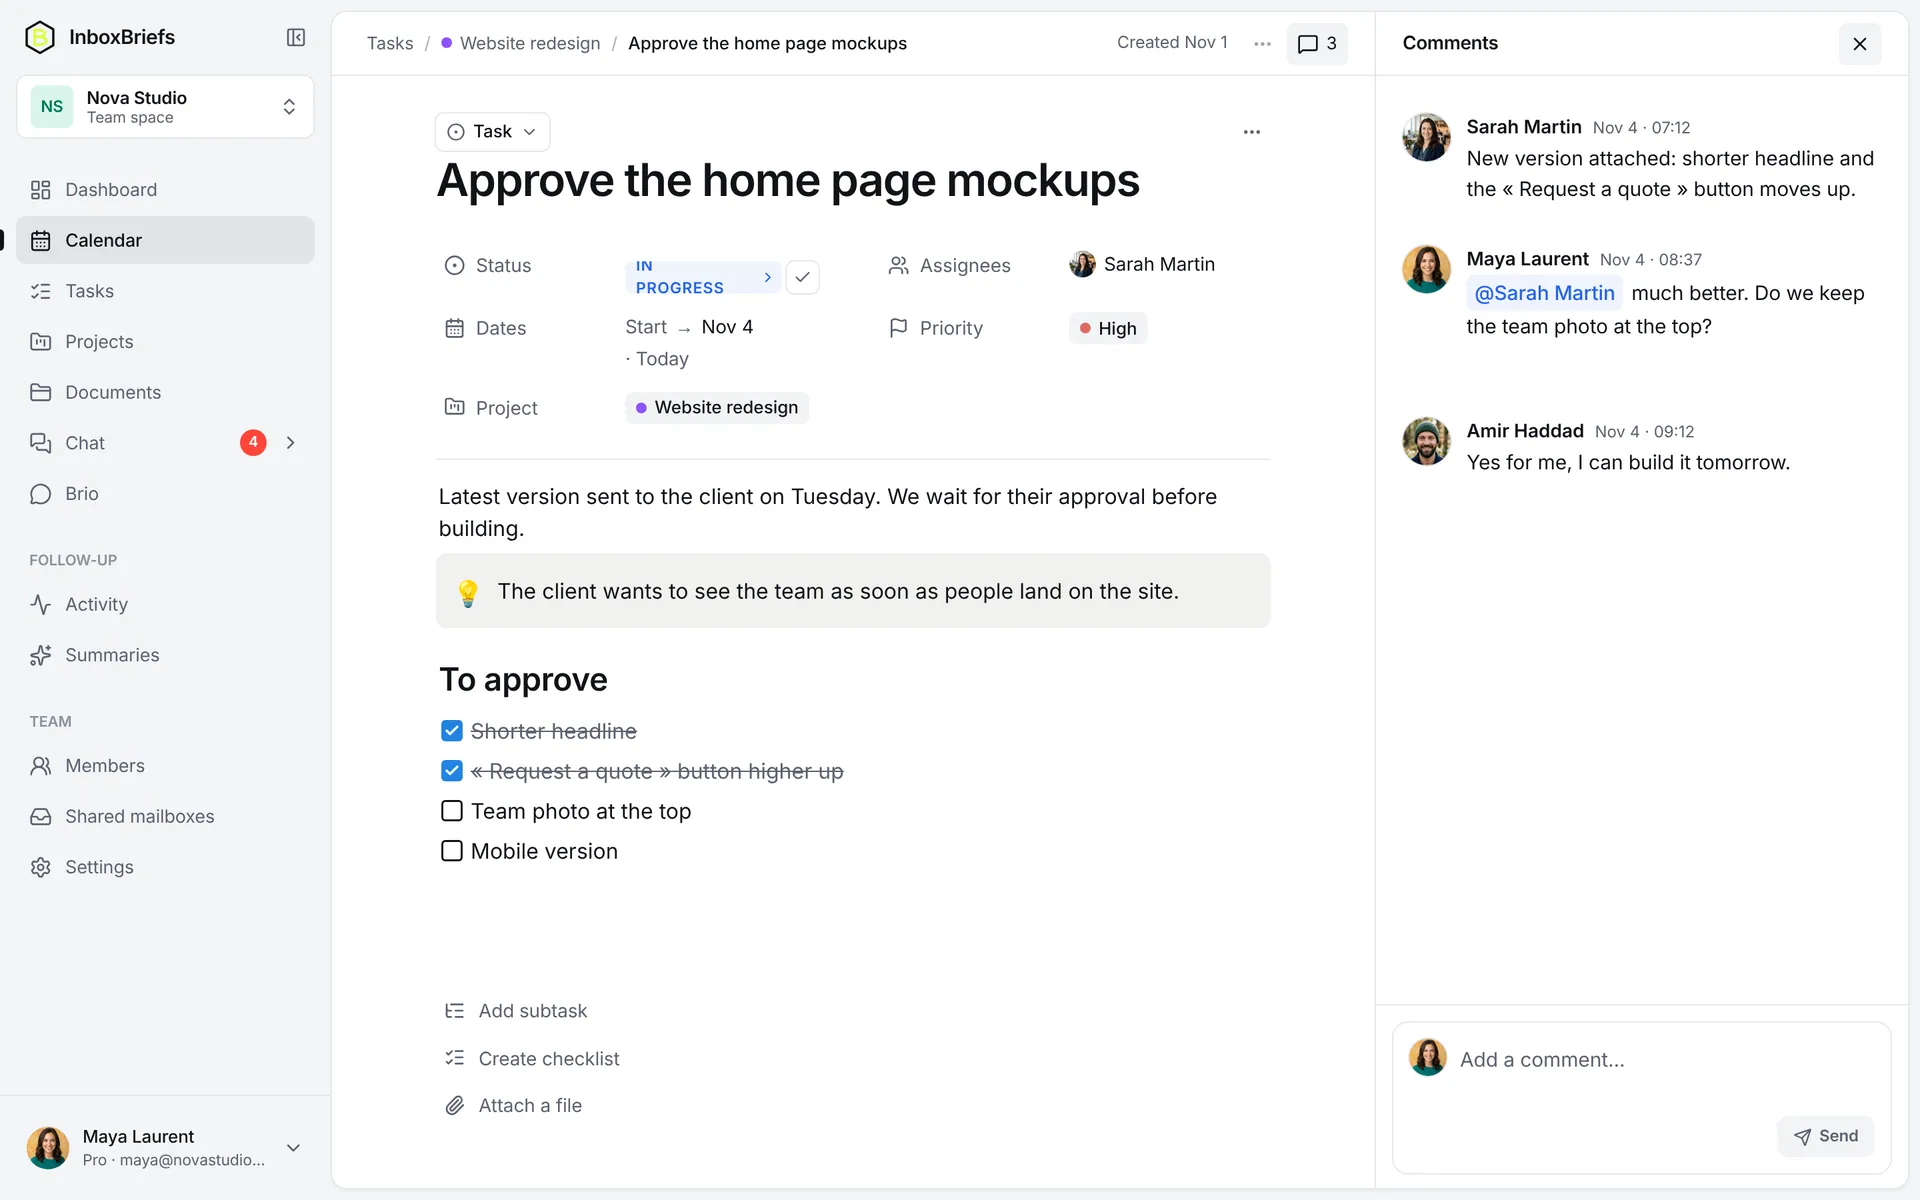
Add the task
Step 1 of 3
- In the side menu, open Tasks (in a team space too).
- Click Add task, type its name, then Enter.
- Open it: a panel opens on the side; Open full screen shows it large.
You don't always have to create it: a request received by email becomes a task on its own (see Read your morning summary), and an automation can create some for you.
Status, priority, dates and colour
- Status: To do, In progress or Done. Mark as done ticks it off.
- Priority: None, Low, Medium or High.
- Dates: a Due date, and a Start for a task that spans several days (pick the due date first). Shortcuts: Today, Tomorrow, In 1 week.
- Project: file it into a project.
- Colour: Auto, or the colour you like, to spot it in the planner.
A reminder email goes out before the due date: an hour before by default.
Assign the task (team)
Step 1 of 3
- In a team space, open the task from Tasks.
- Under Assignees, pick one or several people.
- Everyone assigned is told by email.
Subtasks, files and comments
- Add subtask: type its name, then Enter.
- Documents and links: Attach a file or Add a link.
- Notes: write freely about the task (lists, checkboxes, @mentions).
- Comments (team): the task's own conversation, with replies and @mentions.
Related articles
- The task list and boardSwitch between the list and the board, filter by priority, status, person or project, and drag tasks to arrange them.
- The planner and eventsYour tasks and meetings by day, week, month or year, plus the meetings read in your emails.
- ProjectsGroup tasks and events by project, with its dates, its status, and what the assistant should know to file them well.
- Create an automationBuild an automation as cards: what starts it, its conditions, then its actions. Once activated, it runs on its own.
Didn't find your answer?
Write to us: we answer by email.